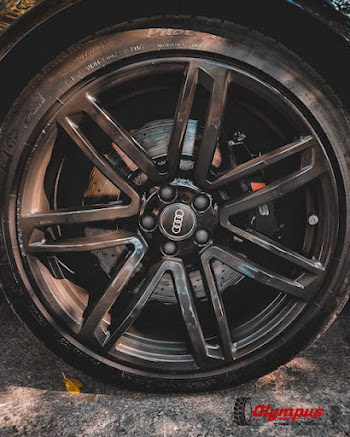
Steps To Car Tyre Puncture Repair
Flat tyres are a common occurrence. It's one of the most prevalent issues you'll encounter while driving. A little nail, a shard of glass, or other sharp object might damage your vehicle's tyre. Punctured tyres can be extremely inconvenient. It is not possible to drive through the lanes in such a state, regardless of whether your car's tyre is normal or tubeless, since it might damage the vehicle rims and potentially cause accidents. Taking the car to the garage may appear to be the finest option. But, don't you believe that repairing the tyre yourself will save you time and effort in finding a nearby repair shop? It can also assist you in avoiding unpleasant situations, such as being stuck on a highway in a distant area. Always have a kit on hand to help you repair a car tyre puncture, as well as a car insurance coverage.
The following is a step-by-step guide to repairing a puncture in your car's tyre:
1. Locate the Leak
The first step is to locate the source of the leak. The thing that ruptured the tyre is not always easy to locate. A nail or a sharp object could be the culprit. Look at the tyre closely to check whether it has a hole or a cut. If a visual inspection is unsuccessful, inflate the tyre to the proper pressure level and listen for a hissing sound. If you can't find the puncture any other way, make a solution of dish soap and water and spray or brush it on the tyre. Bubbles will appear to be coming from the leaking spot. Using tape, mark the location.
2. Loosen the lug nuts and jack up the vehicle.
The lug nuts must be loosened in order to remove the tyre in the second stage. You can use an impact wrench or a lug wrench to do it. If you don't do this before jacking up the automobile, it will spin dangerously while you remove the nuts.
It's time to jack up the car so the wheels can be removed. You can achieve that by parking your automobile on a concrete or flat surface to keep it from rolling away! To keep the car stable, use jack stands. Now, set your car jack to your automobile's specified jacking points and lift the side you're working on.
3. Remove the lug nuts and thoroughly clean the hole.
Remove all of the lug nuts to separate the wheel from the wheelbase. Now is the time to clean the leaking spot by repeatedly inserting the rasp tool into the puncture/hole.
4. Put the Plug in
To put a plug into a hole, the insertion tool must be threaded in the middle. Lubricate the plug with an adhesive such as glue or rubber cement for a better seal and easier insertion. Now, keep the plug in place for at least one minute to allow the adhesive to cure and dry. Remove the portion of the plug that protrudes from the tyre surface.
5. Fill the Tire with Air
The final step is to fill the tyre with the recommended air pressure to guarantee that your automobile moves smoothly. Reinstall the wheel, remove the floor jack, and tighten the lugs to the specified torque.
You can complete the entire procedure of repairing a puncture in your car's tyre on your own now that you've learnt how to do it. Furthermore, you should keep in mind that repairing your tyre on your own is not a long-term solution. For a competent solution, you should take the car to a repair shop. You may also avoid these inconveniences by insuring your automobile with a comprehensive car insurance coverage that includes roadside assistance. Better if you have purchase an insurance with 24-hour roadside assistance, emergency mobile tyre fitting service and other benefits.

